If your garage door opens but won't close, or starts down and goes back up, the safety sensors are the first thing to check. Something is blocking their beam, they're out of line, sun is shining into one, or a wire is damaged. The lights on the sensors tell you which.
Below: how to read the lights and blink codes, align and clean the sensors, deal with sun glare, close the door in a pinch, and know when to replace a sensor.
What the sensors do, and why your opener needs them
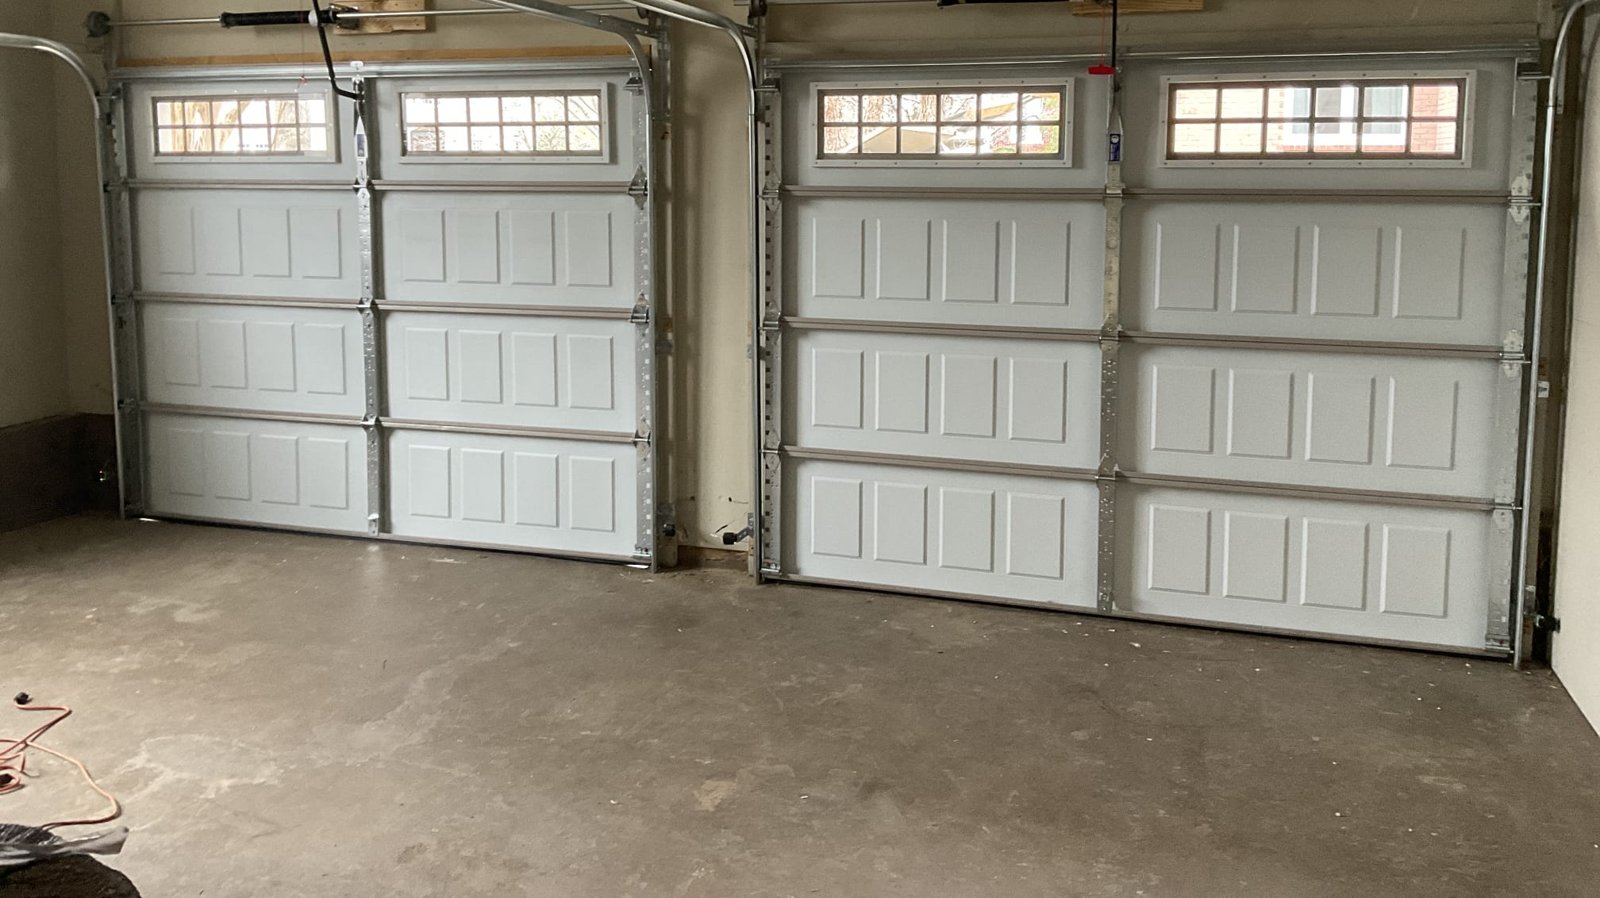
The safety sensors, also called photo eyes or safety reversing sensors, are the two small boxes near the floor on each side of the door. One sends an invisible infrared beam across the opening and the other receives it. If anything crosses the beam while the door is closing, the opener stops and sends the door back up.
They're there because a closing garage door is heavy enough to kill. The U.S. Consumer Product Safety Commission (CPSC) counted about 73 children between 2 and 14 trapped and killed under automatic garage doors from 1982 to the time of its safety alert. That's why the rules are strict:
- Federal law has required a reversing system on every opener made or imported for sale in the United States since January 1, 1991. In 1993 a second, external protection was added: an electric eye, a door edge sensor or something equivalent.
- The UL 325 safety standard requires at least two forms of entrapment protection on residential openers: the opener's own reverse when the door hits something, plus a photo eye or edge sensor.
- The opener won't close the door with its remote if the sensors aren't working. Genie says plainly that its openers won't close the door unless the Safe-T-Beam sensors are installed and working. Chamberlain, the maker of LiftMaster openers, calls the sensors a "required safety device" that must not be disabled.
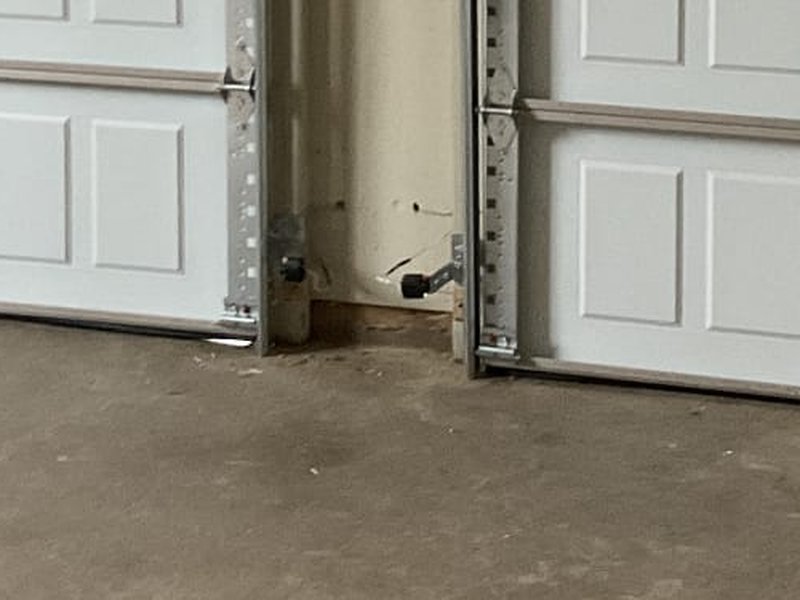
Why they sit so low: the beam has to catch a small child, a pet or a toy on the floor, not just a car bumper. The CPSC says an electric eye belongs 4 to 6 inches above the floor. Chamberlain says no higher than 6 inches, and Genie says at least 5 and no more than 6. Always follow your opener's manual for the exact height.
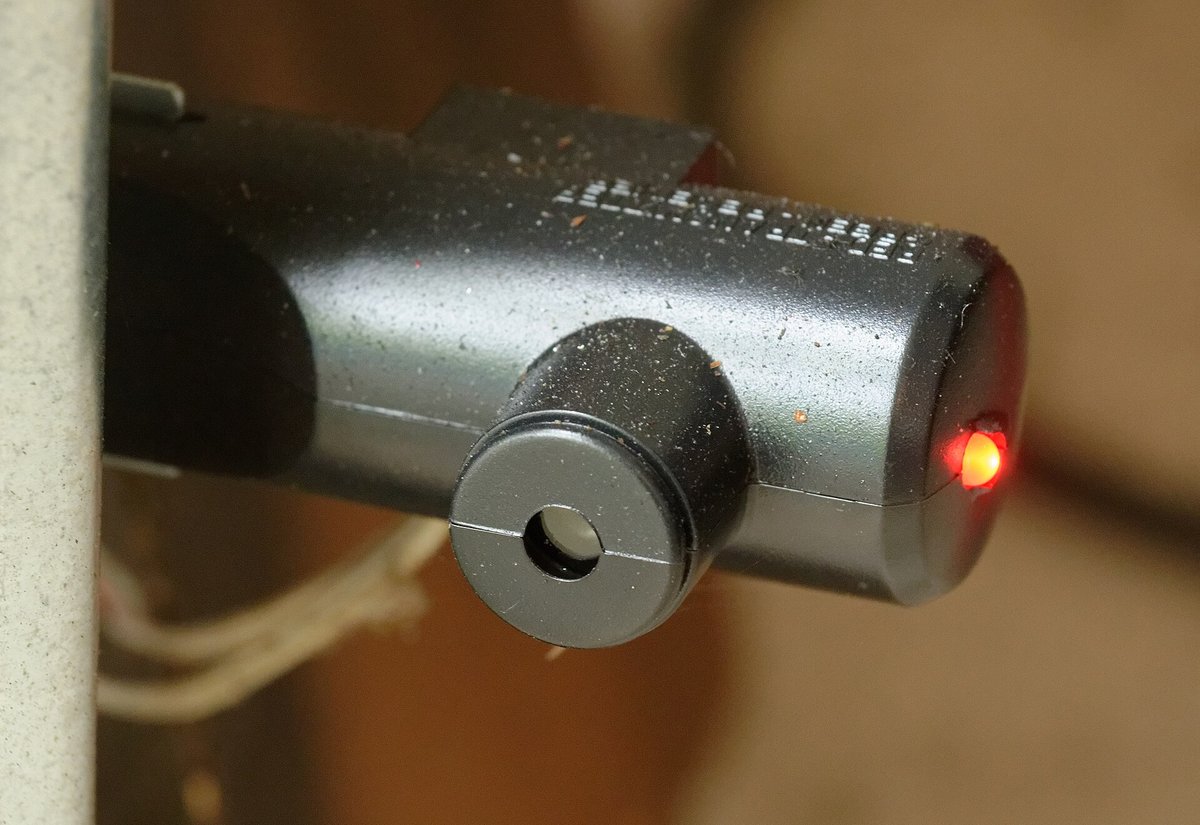
Photo: Jud McCranie, Wikimedia Commons, CC BY-SA 4.0.
Symptoms of a sensor problem
You almost certainly have a sensor problem if:
- The door opens but won't close from the remote, the keypad or the car.
- The door starts down, then stops and reverses before it reaches the floor, with nothing in the way.
- The opener's lights flash when you try to close it. On LiftMaster and Chamberlain openers, the lights flash 10 times for a sensor problem.
- The door closes only while you hold the wall button down. That's the opener overriding the sensors, not a fix.
- One sensor's light is off, dim or blinking, or both lights are off.
- The problem comes and goes with the time of day. If the door won't close only in the late afternoon or early morning, think sun glare.
Not every "won't close" is the sensors. If the lights flash only twice on a LiftMaster or Chamberlain, the Lock button on the wall control is on, which locks out the remotes. If the door reverses at the same spot every time, or the opener does nothing at all, start with our garage door won't open or close guide, which covers power, Lock mode, travel limits and force settings.
Read the sensor lights first
Each sensor has a small LED. The sending sensor's light shows it has power; the receiving sensor's light shows it can see the beam. Both lights steady means the pair is working.
LiftMaster and Chamberlain: amber sends, green receives
| What you see | What it usually means | What to do |
|---|---|---|
| Amber steady, green steady | Aligned and working | If the door still won't close, look at the opener's code (below) |
| Amber steady, green blinking, dim or flickering | The beam is blocked or the sensors are out of line | Clear the doorway, clean the lenses, then align the green sensor |
| Amber steady, green off | Usually a wiring problem on the receiving side, or the sensors are badly out of line | Check the wire to the green sensor, then align |
| Both off | No power to the sensors: a wiring problem, or the opener itself has no power | Check the opener has power, then the sensor wires |
This follows Chamberlain's sensor guides. Sensors released in 2021 (model 041-0136) have a square LED and a sticker on the back of the green receiving sensor.
Genie: red sends, green receives
Genie's Safe-T-Beam sensors use a red light on the source (sending) side and a green light on the receiving sensor.
| What you see | What it usually means | What to do |
|---|---|---|
| Red steady, green steady | Normal | If the door still won't close, check the powerhead's code |
| Both off | No power from the opener, or bad wiring from the powerhead | Check the breaker and plug, then look for damaged wire |
| Red off, green on | The wire to the source sensor is missing or damaged, or power was interrupted | Check the wiring, then unplug the opener and plug it back in |
| Red steady, green blinking 2 times, pause, repeat | Beam not aligned, beam blocked, or a defective sensor | Clear the beam and align the pair |
| Red steady, green blinking 4 times, pause, repeat | The sensor is picking up interference | Find the light source, usually the sun (see sun glare below) |
Genie's Safe-T-Beam self-diagnostic chart lists the full set of patterns.
What the opener's blink code is telling you
Most openers also report sensor faults on the motor unit itself. Write down the count first.
| Opener | Code | What it means |
|---|---|---|
| LiftMaster / Chamberlain with up and down arrows | 1-1 (1 up, 1 down) | Sensors not installed, not connected, or a wire is cut |
| 1-2 (1 up, 2 down) | A shorted or reversed sensor wire. Check the wire at every staple and connection | |
| 1-3 (1 up, 3 down) | Not the sensors: the wall control or its wires are shorted or faulty | |
| 1-4 (1 up, 4 down) | Sensors misaligned or briefly blocked | |
| LiftMaster / Chamberlain, LED by the Learn button | 1 flash | A broken or disconnected sensor wire |
| 2 flashes | A shorted sensor wire, or the black and white wires reversed | |
| 4 flashes | Sensors misaligned or blocked: the sending light is steady, the receiving light dim or flashing | |
| LiftMaster / Chamberlain, main lights | 10 flashes | A sensor problem: misaligned or blocked |
| Chamberlain myQ app | 4-6 | A sensor was briefly blocked |
| Genie 1022, 1024, 1042, 2022, 2024, 2042 and 2027 | 1 blink, pause, repeat | Something broke the beam while the door was closing |
| 2 blinks, pause, repeat | Sensors out of line, a constant obstruction, or a bad wire or connection at the powerhead | |
| Genie Excelerator series | 5 blinks, pause, repeat | Safe-T-Beam malfunction |
To read the arrows on a LiftMaster or Chamberlain, count the flashes on the up arrow, then on the down arrow. Codes differ between models, so check the chart for yours: Chamberlain keeps diagnostic codes for every model, and Genie's codes are in each opener's manual. Our opener noise guide covers the codes that point at the motor and gears.
Step 1: Clear the beam
Start here, even if it sounds too simple. Look along the path between the two sensors, all the way across the doorway:
- Leaves, a recycling bin, a broom, a bike tire, a box stored against the track.
- Anything hanging from the door that swings into the beam as it closes, or cobwebs over a lens.
Move it and try the door again with the remote.
Step 2: Clean the lenses
Dust, pollen, cobwebs and condensation all cloud the lens. Wipe each lens gently with a soft, dry cloth. Don't spray cleaner straight onto a sensor, and don't knock it while you clean; a light bump is enough to throw it out of line. If the light goes steady after cleaning, you're done.
Step 3: Align the sensors
Sensors get knocked out of line by a car bumper, a bike, a kid's toy, or a bracket that has worked loose. Chamberlain's steps, which work the same way on most brands:
- Find the receiving sensor: the one with the green light on LiftMaster, Chamberlain and Genie.
- Loosen the wing nut that holds it to its bracket, just enough that it turns.
- Point the two lenses straight at each other. Keep both at the same height and level with each other.
- Watch the green light. When it glows steady, not dim or flickering, hold the sensor there and tighten the wing nut.
- Check that both lights are steady, then close the door with the remote.
If the green light still won't settle, repeat with the sending sensor. If the bracket itself is bent or loose on the track, straighten or tighten it first, or the sensor won't stay where you put it. Genie's guidance is the same: the sensors must be clean and able to "see" each other.
Step 4: Rule out sun glare
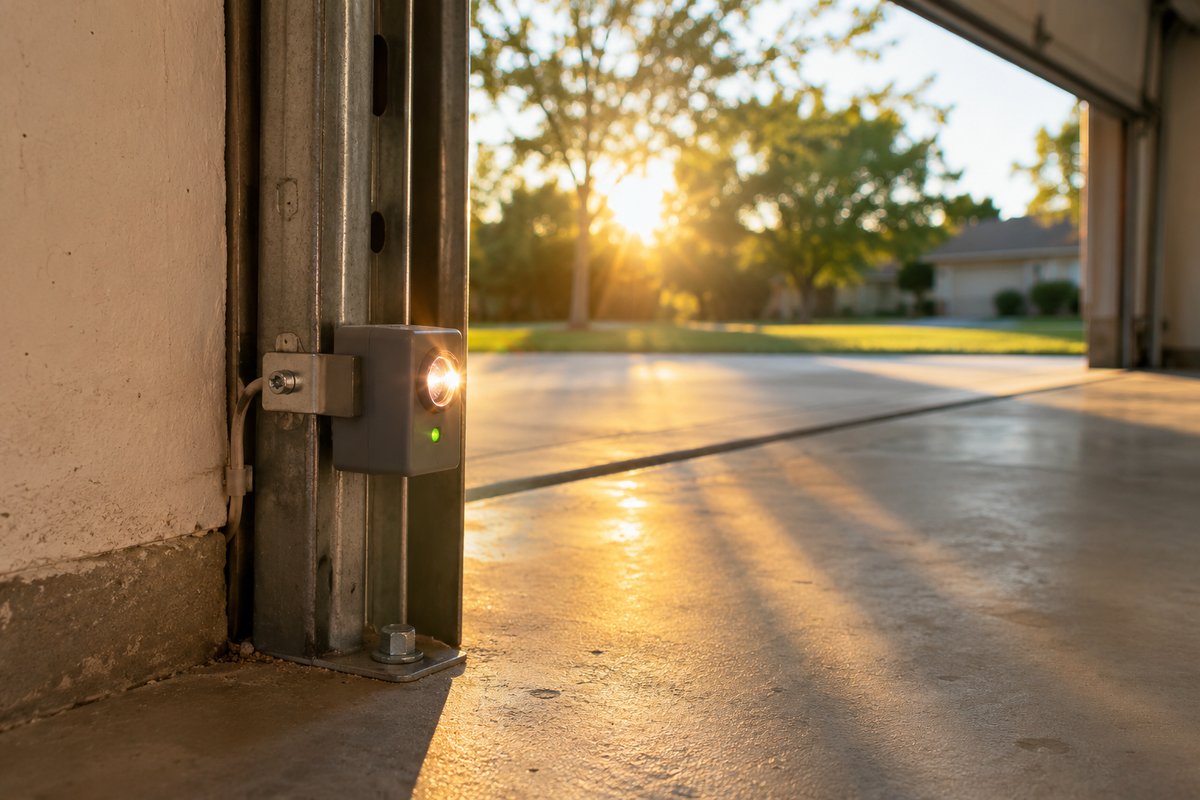
Sunlight carries infrared light, the same kind the sensors use. When the sun shines straight into the receiving sensor, it can drown out the beam, and the opener acts as if something is in the way. Chamberlain and Genie both describe it.
The giveaway is timing. The door won't close at about the same time of day, then works fine an hour later. In Metro Atlanta we see it most on west-facing garages in the late afternoon, when low sun reaches straight across the floor, and on east-facing ones early in the morning.
What the manufacturers suggest:
- Swap the sensors to opposite sides of the door (Chamberlain), so the receiving sensor faces away from the sun. It means disconnecting power, cutting or disconnecting the wires, moving each sensor to the other side and reconnecting them, keeping white with white and black/white with black/white. Chamberlain notes the swap can move the glare to a different time of day instead of curing it.
- Fit a sun shield. Chamberlain sells a safety sensor sun shield (part 041B0873) that slips over the sensor. Check that it fits your model first.
- Shade the green sensor (Genie). Genie suggests building a small shade around the green receiving sensor without blocking the lens, or keeping that sensor out of direct sun. Its newer Safe-T-Beam version has a lens designed to resist sunlight interference.
Step 5: Check the wiring
If cleaning and aligning don't steady the lights, or the opener shows a wiring code (1-1, 1-2, or 1 or 2 flashes), the problem is in the thin two-wire cable that runs from each sensor up to the opener.
What goes wrong:
- A staple driven too hard pinches the wire and shorts it. Chamberlain's fix for code 1-2 is to inspect the wire at every staple and connection point.
- Reversed wires. The colors have to match at both ends: on Chamberlain sensors, white with white and black/white with black/white. If your garage was pre-wired by the builder, the colors can be different, so follow the wire, not the color.
- A loose connection at the opener's terminals or at a splice. Tug each wire gently to make sure it's seated.
- Physical damage: a wire caught by a car door, a lawn mower handle or shelving, or cut during other work in the garage.
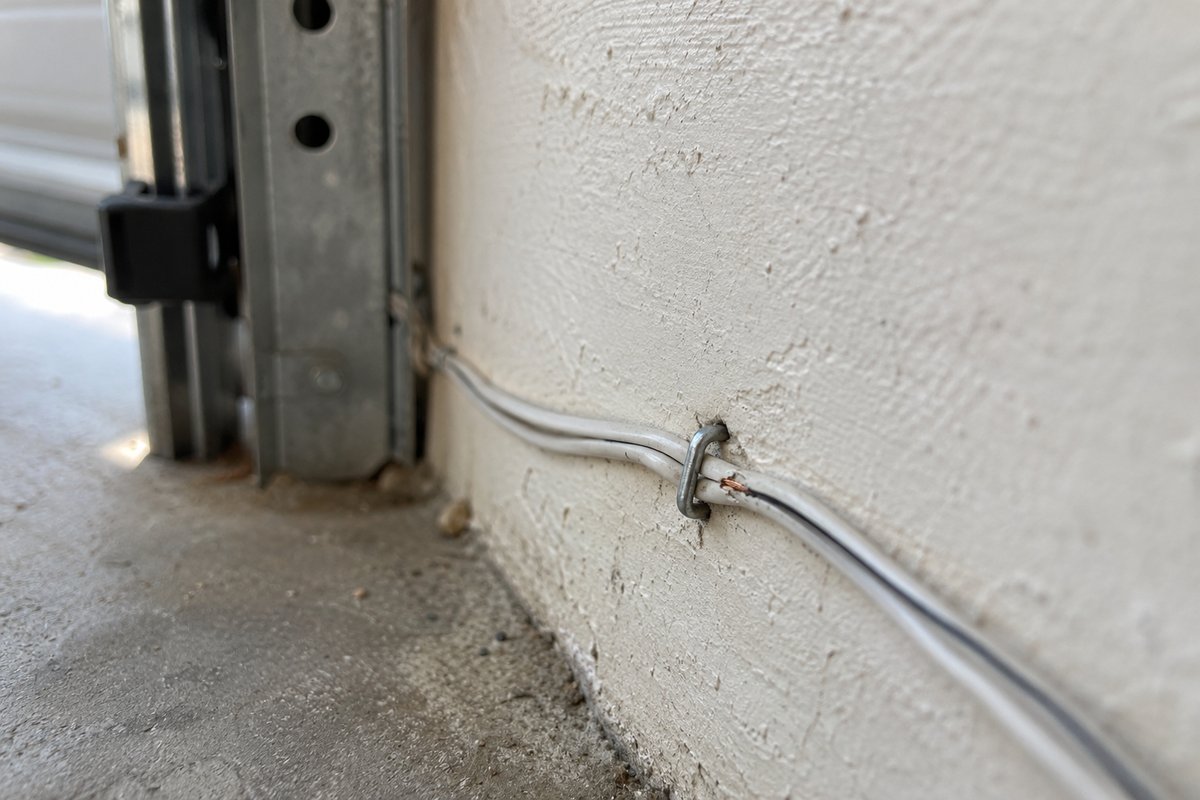
Unplug the opener before you touch any wiring. Chamberlain's technicians use a bench test to split a wiring fault from a sensor fault: they connect the sensors to the opener with a short new wire and point them at each other. If both lights come on, the sensors are fine and the installed wire needs replacing. If they still don't light, the sensors are bad. It's a straightforward job with a meter and the right wire, but tracing a fault through a finished garage wall is where most homeowners call us.
How to close the door when the sensors won't let you
If the door is stuck open and the sensors won't cooperate, you have two options. Both skip the safety system, so treat them as a way to secure the house, not as a fix.
Before either one: make sure the doorway is completely clear, keep children and pets inside, and watch the door the whole way down.
Hold the wall button
- LiftMaster and Chamberlain: press and hold the wall control's push bar until the door is fully closed. The remote and keypad won't close it while the sensors are faulty. Chamberlain says openers, and replacement logic boards, made after February 3, 2022 no longer have this feature, so on a newer opener holding the button won't work.
- Genie: press and hold the wall console button until the door is completely closed. Genie notes the remotes and wireless keypad won't close the door without working Safe-T-Beams.
Close it by hand
If the opener won't close it at all, you can disconnect the door and lower it by hand. Chamberlain's manuals warn that the release should be used with the door closed when possible, because weak or broken springs or an unbalanced door can make an open door drop suddenly. So:
- Only do this if the springs are fine. If you heard a bang, see a gap in the spring above the door, or the door hangs crooked, don't pull the release. Call us.
- Pull the red release cord with the doorway clear, then lower the door by its handle, not by the cord, keeping control of it all the way.
- Lock it with the slide lock if you're leaving it that way, and reconnect the trolley once the sensors are fixed.
Our step-by-step guide to opening and closing a garage door manually covers this in more detail.
If the door is stuck open and you can't secure it safely, see emergency garage door repair.
Never bypass the sensors
Don't tape the sensors together, don't mount them up high on the wall where a car can't knock them, don't point them at each other off to one side of the door, and don't wire around them. Each of those leaves the opener believing the doorway is clear when it isn't. Chamberlain's own wording is that the sensors are a required safety device that must not be disabled, and Genie's openers are built not to close without them.
Holding the wall button down every day is the same thing: the door closes with no beam watching the floor.
When to replace the sensors
Work through cleaning, alignment and wiring first; new sensors come last. Replace them when:
- One light stays off or flickers after you've cleaned, aligned and checked the wiring. Chamberlain's order is to replace the wire to the sending sensor first, then the sensors if the light still won't go steady.
- The bench test fails: with a short new wire, the lights still don't come on.
- A sensor is cracked, broken off its bracket, or has water inside the lens.
- Genie's chart shows a source that isn't sending. Genie lists a defective source as a reason to contact its customer service.
- The opener has no sensors at all. An opener made before the 1993 rule should be replaced, not fitted with parts. The CPSC urges homeowners to replace openers that don't reverse.
Use replacement sensors made for your opener. Genie tells installers to use only the Safe-T-Beams packaged with the opener, and Chamberlain asks you to check your model number before ordering sensor parts. Genie notes you can usually reuse the existing wiring and mounting location.
Old opener with other faults too? A new opener can be the better spend. Read more about garage door opener repair and new openers, LiftMaster opener repair in Atlanta or Genie garage door openers. We're an authorized LiftMaster dealer, and you'll get a written price before any work starts.
The monthly sensor and reverse test
The CPSC recommends checking the door and opener every 30 days, and Chamberlain says the reversal system must be tested every month and after any adjustment or repair. It takes two checks:
- Test the sensors. Open the door. Start closing it with the remote, then pass something like a cardboard box through the beam, keeping your hands and feet out of the door's path. The door should stop and go back up.
- Test the reverse. With the door open, lay a 2x4 flat on the floor in the middle of the doorway and close the door. When the door touches the board, it should reverse. If it stops on the board and doesn't reverse, the CPSC says to stop using the opener until it's adjusted, repaired or replaced.
If either test fails, the door shouldn't be used with the opener until it's fixed. A yearly tune-up covers both tests, the sensor alignment and wiring, the springs, cables, rollers and the opener's settings. Our garage door maintenance checklist puts the monthly checks on one page.
What you can fix, and what to leave to us
| Problem | DIY? | Why |
|---|---|---|
| Something in the beam | Yes | Move it |
| Dirty or foggy lens | Yes | Soft, dry cloth |
| Sensor knocked out of line | Yes | Loosen the wing nut, aim, tighten |
| Two flashes, remotes don't work | Yes | Lock mode is on; turn it off at the wall control |
| Sun glare | Usually yes | Sun shield or shade; swapping sides means rewiring |
| Shorted, pinched or reversed wire | Often a tech | Tracing a fault inside walls and along the ceiling |
| Failed sensor | Yes, with the right part | Must match your opener model |
| Door reverses with sensors steady | No | Usually force, travel limits, or a door that's binding or heavy |
If the sensor lights are steady and the door still reverses, look at the opener's force and travel settings or a heavy door with a weak garage door spring. Don't keep raising the force to make the door close; that defeats the reverse.
When to call us
Call us if the lights won't go steady after cleaning and aligning, if the opener shows a wiring code, if the door reverses with the sensors working, or if the door is stuck open and you'd rather not close it by hand. Our technicians have repaired garage doors and openers across Metro Atlanta since 1999. We're rated 4.9 on Google with Over 4,000 Five-Star Reviews, and our office is open seven days a week, 7 AM to 8 PM.
Call (678) 271-8918 or book a visit online. You'll get a written price before we start. If you're adding a keypad while we're there, see how to set a strong garage door keypad code.
Frequently asked questions
Why is my garage door sensor blinking?
A blinking receiving sensor (green on LiftMaster, Chamberlain and Genie) means it can't see the beam steadily: something is in the way, the lens is dirty, the sensors are out of line, or sun is shining into it. Clear the doorway, wipe the lenses, then loosen the green sensor and turn it until the light holds steady.
Why does my garage door open but not close?
Almost always the safety sensors. The opener will open the door but won't close it with the remote if the beam is blocked or a sensor isn't working. Check the sensor lights first. If the opener lights flash twice instead, the Lock button is on.
How high should garage door sensors be?
4 to 6 inches above the floor, per the CPSC; Chamberlain says no higher than 6 and Genie says 5 to 6. Mounted higher, they can miss a child or pet on the floor.
Can sunlight affect garage door sensors?
Yes. Sunlight contains the same infrared light the sensors use, so low sun shining straight into the receiving sensor can make the opener act as if the beam is blocked. A sun shield, a small shade, or swapping the sensors to opposite sides usually solves it.
How do I close my garage door if the sensors aren't working?
On most LiftMaster and Chamberlain openers, press and hold the wall control until the door is fully closed; Chamberlain says openers made after February 3, 2022 don't have this feature. On Genie, press and hold the wall console. Keep the doorway clear and watch the door all the way down, then get the sensors fixed.
Can I bypass my garage door sensors?
No. They're a required safety device under federal rules and the UL 325 standard, and they're the part that stops a closing door from landing on a child or pet. Taping them, mounting them high or wiring around them removes that protection.
How do I know if a garage door sensor is bad?
If a light stays off or flickers after you've cleared the beam, cleaned the lenses, aligned the pair and checked the wires, the sensor or its wire has failed. A bench test with a short new wire tells you which: if the lights come on, it's the wire; if not, replace the sensors.