
Updated December 17, 2023
Use these 7 steps to paint your garage doors to increase your home’s curb appeal and home value. While blistering paint, and grey, dull hues may seem romantic when read from a fairy tale such as the Wizard of Oz, in real life peeling and worn paint is anything but appealing. Once your garage doors start to look dingy and grey, it’s definitely time to start thinking about giving that door a new face lift. Thankfully, all it really needs is a new coat of paint, and with a little planning and a little elbow grease you can handle the project yourself and save a lot of money in the process. To help you along the way we’ll lead you through the process with these seven easy steps:
1- Consider the Weather
Before grabbing that bucket of paint, you need to think of the appropriate time to paint that door. You need to complete this project when temperatures aren’t too hot or could. You’ll also want to avoid rainy or cloudy days. Be sure that you start early on the day you do choose so you’ll have enough time to complete the project.
2- Prepare the Garage Doors
This is probably the toughest part of the job, but also the most necessary. You have to prepare the surface if you want that new paint job to last. Start by sanding down the peeling paint. If the doors are metal you’ll need to sand down any rust. You’ll also want to paint metal doors with primer to prevent further rusting.
3- Clean the Entire Garage Door
Be sure to clean the door thoroughly before you start painting. Wash down with a sponge or use a power washer set on low. Pay attention to the lower part of the door since this is where the most dirt accumulates.
4- Tape the Areas You Don’t Want to Paint
Prepping the door may take time and it may seem unnecessary, but if you do take the time to tape off the areas you don’t want to get paint on, you’ll save time later on. Lay down plastic under the door to keep the wet paint from sticking to the ground underneath the door.
5- Prime the Garage Door
If you are changing colors, or if there are dark or rust spots on the door, you’ll want to paint a coat of primer first. Be sure you use a primer that is made for outdoor use and one suited to the surface you are painting.
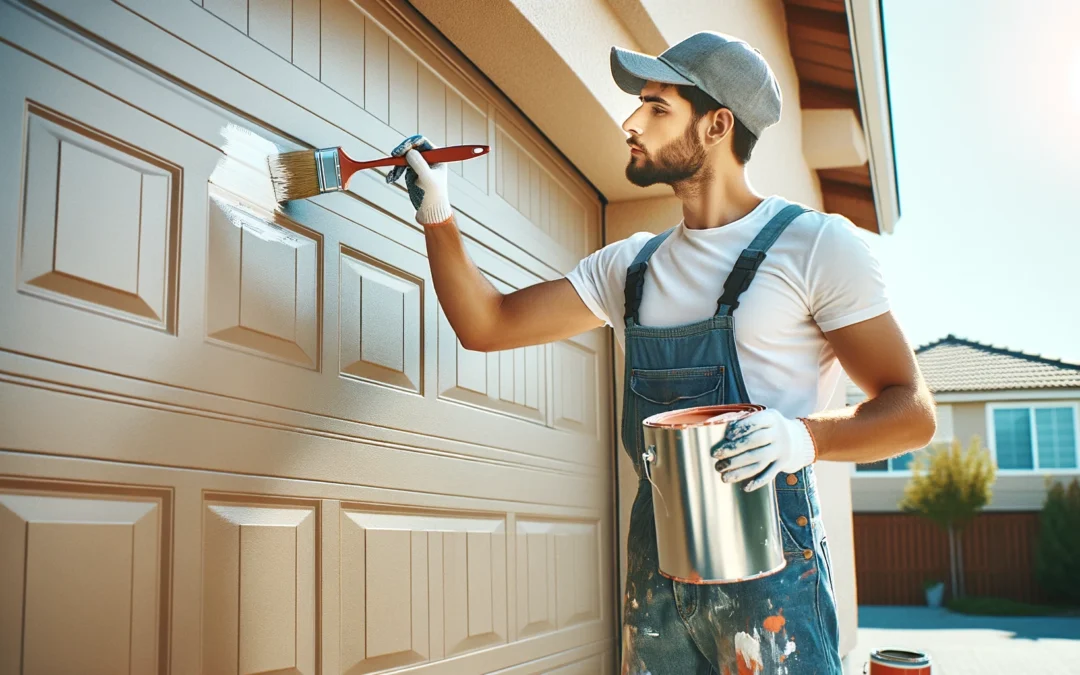
6- Paint
Now, you are finally ready to start painting, but don’t rush the job. You want to make sure you have everything you need; paint, brushes, and everything else you need. Use a latex based paint and add one layer of thin paint at a time. Allow each coat to dry before you start painting the next. Use a paint roller for the larger areas and a brush for the edges and corners. Add three to five coats of paint, but be sure to allow each coat dry for a few hours before you add the next. Review your work as you go, making sure you’ve covered all areas of the door in each layer.
7- The Clean Up
Once you finish painting the garage doors, be sure you clean up and remove any open paint containers. Thoroughly wash paint brushes and remove paint rags from the area. Keep the tape and plastic down for 24 hours before removing. This will ensure the paint doesn’t come off on any other surfaces.
Bottom Line
That’s all there is to painting those ugly doors. A new coat of paint gives a whole new look to the entire home. You’d be surprised at the difference a day spent painting can really make.
If you’re planning on revamping the garage doors not just with a new coat of paint, but also make it quieter, maybe repair some details, check out our coupons and save money too!